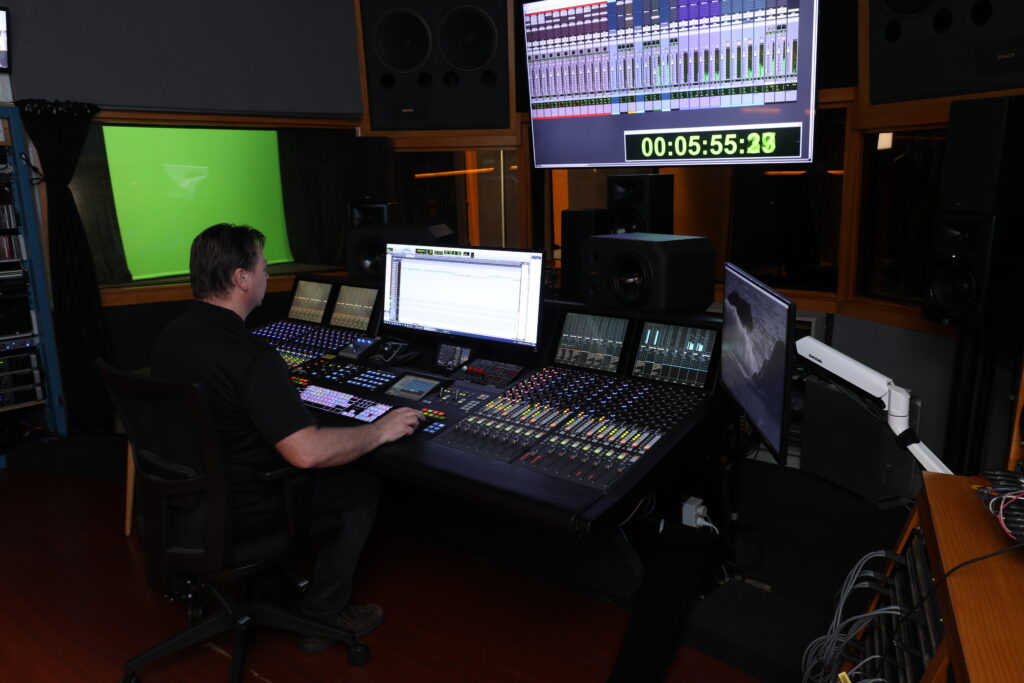
There’s a lot to consider when you’re mixing a song. You want your bass to be tight and powerful, but it can’t get in the way of your kick – you want your snare to have both body and snap, and to punch through the mix on every hit – you want your cymbals to sizzle but they can’t be harsh or abrasive – you want your guitars and your keys to envelop you but you can’t let things get muddy or allow one to be masked by another – and, above all, you want your lead vocal to sound full, and crisp, and present, and sit beautifully at the front of the mix. But how are you supposed to achieve all these things? How do you give every element it’s own space in the mix and keep things from clashing? What does “front of the mix” mean? And is it even possible to mix in 3D?
When I’m mixing, I picture the mix three-dimensionally. It helps to imagine you’re standing in the doorway of a room, looking in, and your aim is to place every instrument in a different location in the room so that no two are in the same spot.
But how am I supposed to achieve three dimensionality with only two speakers? Think of it like this:
- x-axis (left to right): Panning
- You can use your pan control to position a sound hard left, hard right, straight down the centre, or anywhere else in the stereo field.
- y-axis (top to bottom): Frequency
- Low (bass) frequencies at the bottom and high (treble) frequencies at the top.
- z-axis (front to back): Presence
- This is a bit more abstract but can be manipulated in two ways:
- Volume: Louder sounds sound closer and quieter ones sound further away.
- Reverb: You can use reverb to push a sound back in the mix, or keep it dry to bring it to the front.
- This is a bit more abstract but can be manipulated in two ways:
By utilising these parameters, you can start to imagine your mix as a 3 dimensional space and you can begin to place sounds within it. Obviously, some of this stuff is baked in already. For instance, you’re never going to be able to place your hihat low on the y-axis – it doesn’t have the low frequency content for that – but you can still manipulate the other two dimensions.
A good starting point is to look at some common conventions:
- Put the kick, snare, bass, and lead vocal all on a vertical line at the front and centre of your mix.
- Now, imagine you’re standing in front of the drumkit, looking at it from the audience’s perspective, and pan the rest of the drums out to match their positions within the drumkit. The best way to do this is to pan the overheads hard left/right then to pan the close mics so that they match the positions of the individual drums within the stereo field of the overheads.
- Next, take your guitars/keys and spread them across the x-axis – keep any really integral rhythm parts up front by making them loud and dry and experiment with pushing any extra spicy parts back along the z-axis.
- Horn and BV lines can also be spread across the x-axis. It can be nice to set these back just a little and, if you find they’re competing for space with guitar or keyboard parts, then you can put them a bit higher in the y-axis by rolling off the low end and scooping out some of the low-mids. If you only have one BV track to go along with your lead vocal, try running it through a stereo widening plugin so that you can spread it across the y-axis and keep it out of the way of the lead vocal. iZotope make a great free plugin for doing this, the Ozone Imager V2.
- Solos are really taking over the job of lead vocal for their brief time in the spotlight so keep these front and centre as well.
- Your reverbs and stereo effects should be the widest and furthest things in your mix so pan them hard left/right and let them do the job of pushing themselves to the back of the z-axis.
The six points above aren’t rules, but guidelines to help you get started. Feel free to break them and try new things. In the end, I always try to keep this mantra in mind, “If it sounds good, it is good.” Now, go forth and mix in 3D!